The Complete Guide
How to Grow
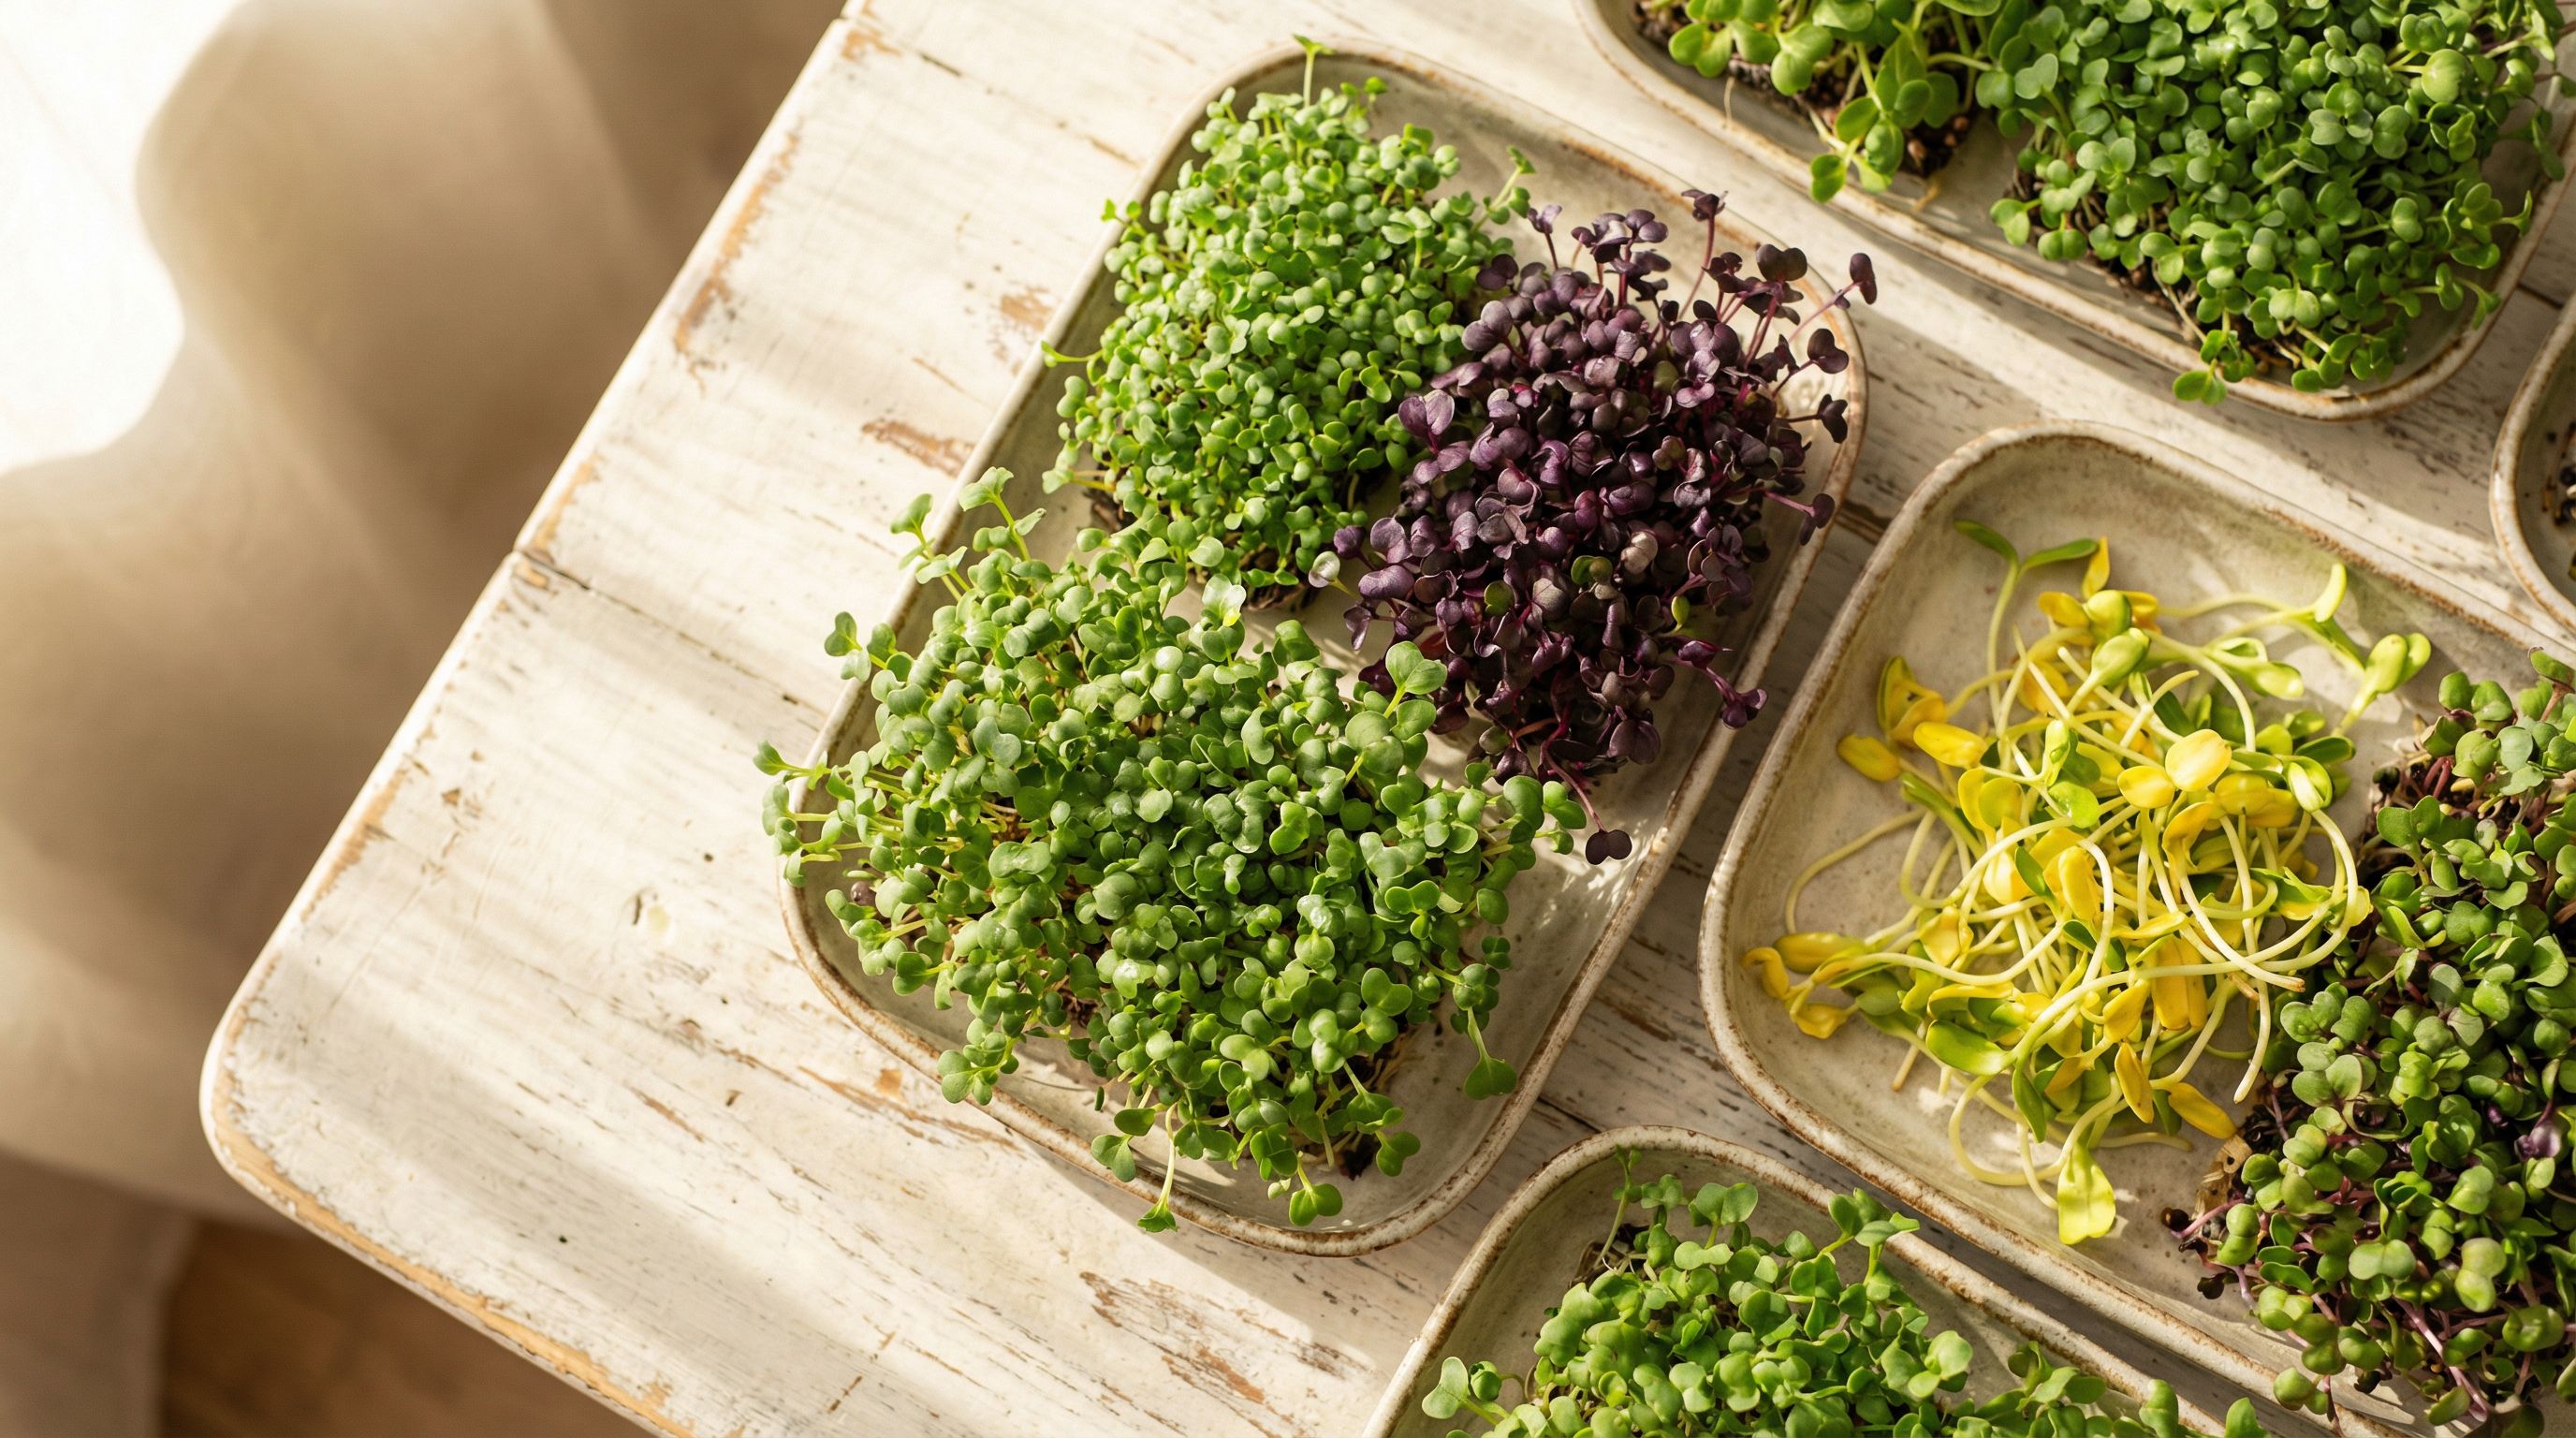
Microgreens
From seed to harvest in as little as 7 days. An immersive, step-by-step journey through the art of growing the world's most nutritious greens.
7-14
Days to Harvest
43+
Varieties
40×
More Nutrients
Scroll to begin
Gather Your Supplies
Everything you need to get started
Growing microgreens doesn't require a big investment or a green thumb. Four simple things and you're ready to grow fresh, nutrient-dense greens right on your kitchen counter.
Seeds
Buy seeds labeled for sprouting or microgreens. Bulk is cheaper — most seeds stay viable for 1-2 years.
Shallow Trays
Standard 10×20 nursery trays work perfectly. Get one with holes and one without for bottom watering.
Growing Medium
Organic potting soil, coconut coir, or hemp mats. Soil and coir are the most popular for beginners.
Light Source
A sunny windowsill or a basic LED shop light. Microgreens need 6-8 hours of light per day minimum.
Pro Tip
Always use seeds intended for human consumption — not garden seeds or animal feed. Look for the “Packed for Year” date and aim for seeds less than a year old for best germination rates.
Choose Your Variety
43+ varieties — here are the best for beginners
Your first grow should be forgiving and fast. These six varieties are the most beginner-friendly — they germinate quickly, grow reliably, and taste incredible.
Broccoli
Mild, nutritious, easiest to grow
7-10 days
to harvest
Radish
Spicy kick, fastest growing
7-10 days
to harvest
Pea Shoots
Sweet & crunchy, kid-friendly
8-12 days
to harvest
Sunflower
Nutty & sweet, protein-rich
9-12 days
to harvest
Kale
Mild & tender, smoothie-ready
8-12 days
to harvest
Clover
Nutty, quick sprouter, nutritious
6-12 days
to harvest
Prepare Your Trays
Clean space, good light, ready to plant
A clean start prevents mold and gives your seeds the best chance. Preparation takes just 5 minutes but makes all the difference.
Clean Everything
Wash all trays and equipment with hot soapy water and air dry completely. If reusing trays, a mild bleach or hydrogen peroxide rinse adds extra protection.
Set Up Your Light
Position your trays where they'll get 6-8 hours of direct light. A sunny windowsill, under-cabinet LEDs, or a basic shop light all work. You can run grow lights up to 18 hours, but plants need at least a few hours of darkness.
Fill Your Tray
Add about an inch of moistened growing medium to your tray with drainage holes. The surface should be level and evenly damp — not waterlogged.
Indoor vs Outdoor
Growing indoors gives you the most control over temperature and pests. If you grow outdoors, a small greenhouse or high tunnel protects from birds. Some cold-loving varieties like purple bok choy actually gain color from cooler temperatures.
Plant Your Seeds
Density is everything — get it right
Seed density is the single biggest factor in a successful tray. Too few seeds means spotty coverage and wasted space. Too many means crowding, weak stems, and a higher risk of mold.
Quick Density Guide
Grams per 10×20 tray — check our full cheatsheet for all 43 varieties
Without a scale: Aim for 10-12 seeds per square inch for small varieties, 6-8 for larger seeds. Sprinkle evenly by hand, gently pressing seeds into contact with the growing medium.
Pro Tip
For large seeds like peas, sunflowers, and cilantro — soak them for 4-12 hours first, rinse until the water runs clear, then let them pre-sprout in a colander for 12-24 hours before planting. You'll see tiny root tips emerging when they're ready.
The Blackout Phase
Darkness, moisture, and patience
After sowing, your seeds enter the germination phase. They need darkness, consistent moisture, and gentle pressure to establish strong roots. This is where the magic begins.
Cover Up
Stack an empty tray on top or use a humidity dome with vents closed. Add a small weight to maintain seed-to-soil contact.
Stay Moist
The medium should be evenly damp, never soggy. With a dome or stacked tray, you typically only need to water once during germination.
Keep Warm
Room temperature is perfect. In cold spaces, a seedling heat mat keeps things consistent. Avoid temperature swings.
Most seeds germinate within 24-48 hours. You'll see tiny white roots pushing into the medium and pale yellow stems beginning to lift. Keep them covered until stems reach about half an inch tall — usually 2-4 days depending on the variety.
Watch Them Grow
Light, water, and a few days of wonder
Once your seedlings are up and reaching, it's time to uncover them and introduce light. This is where pale sprouts transform into vibrant green microgreens.
Daily Care Checklist
Move to light
6-8 hours of direct light minimum. Rotate trays for even growth.
Bottom water
Pour water into the solid tray underneath. Never water from the top after germination — wet leaves invite mold.
Check moisture
The medium should feel damp when you press it. Not dripping, not dry.
Good airflow
A gentle breeze from a fan strengthens stems and prevents mold. Open windows work too.
Pro Tip
Watch for mold — it appears as white fuzz at the base of stems (different from root hairs, which are fine and feathery). Increase airflow, reduce moisture, and consider a diluted hydrogen peroxide spray if it persists.
Harvest Day
The most satisfying snip you'll ever make
This is it — the moment your patience pays off. When your microgreens have their first set of true leaves and stand 1.5 to 3 inches tall, they're ready to eat.
Harvest Timeline
Quick Growers
Radish, broccoli, kale, mustard
Long Cycle
Peas, sunflowers, corn
Herbs
Basil, cilantro, dill
Use clean scissors or a sharp knife. Cut stems just above the soil line. For personal use, leave stems longer for more nutrition and fiber. For a restaurant look, trim shorter for a neat stem-to-leaf ratio.
Second Harvest?
Pea shoots, radish, and some brassicas can regrow after cutting — harvest an inch above the soil or just above the bottom leaf set. Not all varieties regrow though, and second harvests are usually smaller. Sunflowers won't regrow at all.
Store & Enjoy
Keep them fresh for up to 2 weeks
Home-grown microgreens often outlast store-bought because they go straight from tray to fridge at peak freshness. Here's how to maximize their shelf life.
Don't Wash Before Storing
Moisture dramatically shortens shelf life. Wash only right before eating.
Paper Towel Trick
Place a folded paper towel in the bottom of your storage container to absorb excess moisture.
Refrigerate Immediately
Store in a sealed container in the fridge. They'll stay fresh for 7-14 days.
Basil Exception
Basil microgreens hate the cold — store at room temperature like fresh basil leaves.
Microgreens that get too big don't go to waste — they simply become baby greens. Most varieties stay delicious well past the microgreen stage. The one exception is sunflowers, which develop a bitter flavor once true leaves appear.
Ready to Start Growing?
You've got the knowledge. Now explore our complete database of 43+ varieties and find your perfect first grow.